 AMC
AMC
 Chrysler
 Dana
Dana
 Ford
Ford
 GM
GM
 Isuzu
Isuzu
 Nissan
 Suzuki
 Toyota
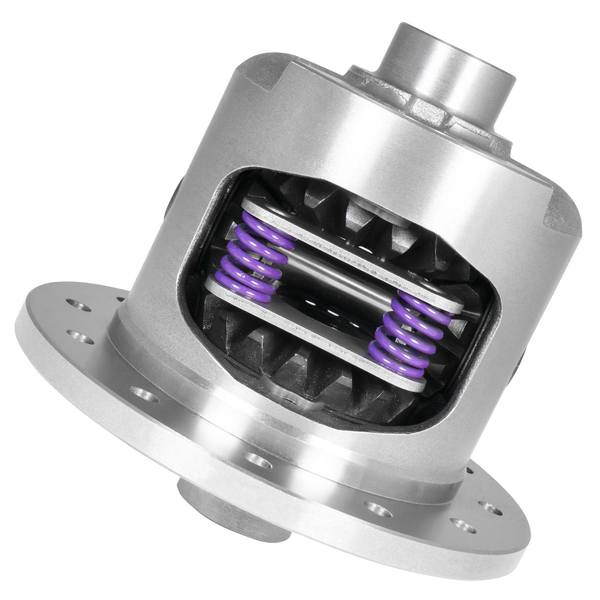


Lunchbox lockers provide reliable 100% lock-up traction at a low cost. The simplicity and ingenuity living within the Spartan Locker makes it better than conventional lunchbox lockers. The Spartan Locker’s patent-pending design replaces the spider gears in a standard carrier case without using the thrust washers, but the unit’s most revolutionary attribute is its spring-and-pin design. This characteristic makes assembly and installation straightforward and easy, as the carrier may not need to be removed in some instances. The Spartan Locker is the most DIY-friendly locker on the market and many experienced enthusiasts install the unit themselves versus taking their rig to a shop.
Anatomy of a Spartan Locker
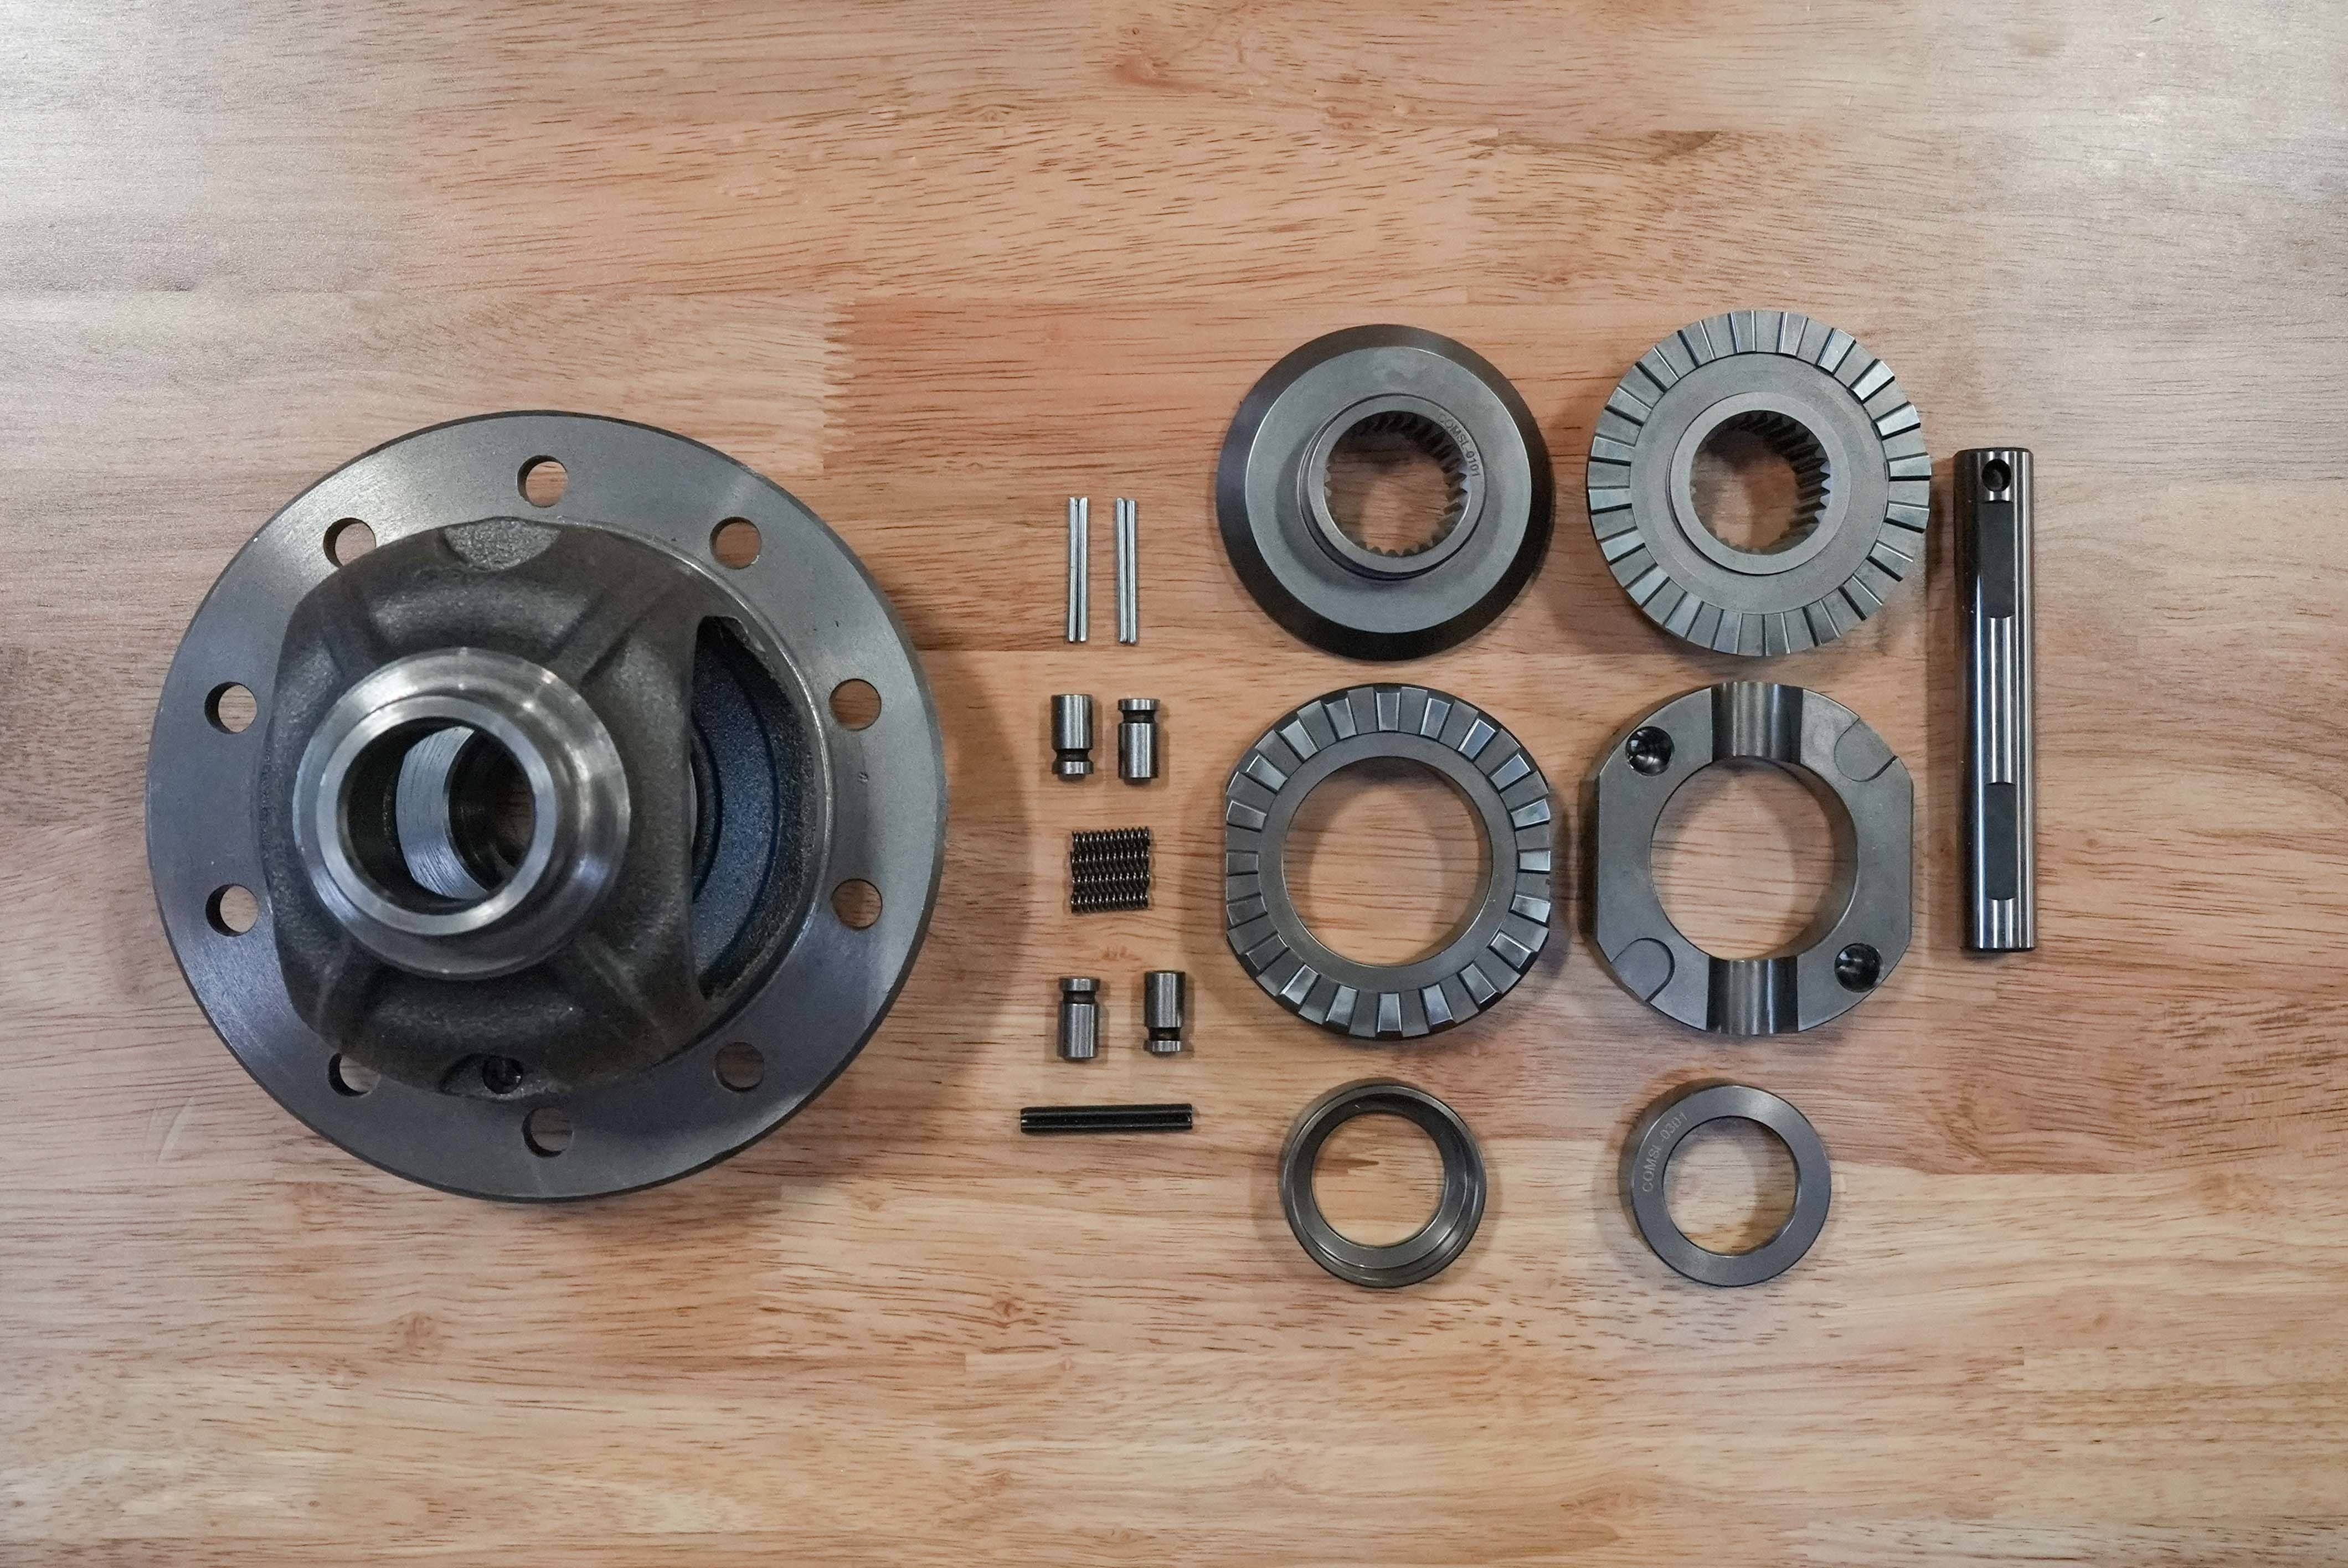
Lunchbox lockers are not a singular component. They start as individual components that are assembled together and installed in an open differential carrier (and only an open differential carrier) to transform it into a mechanically locked diff.
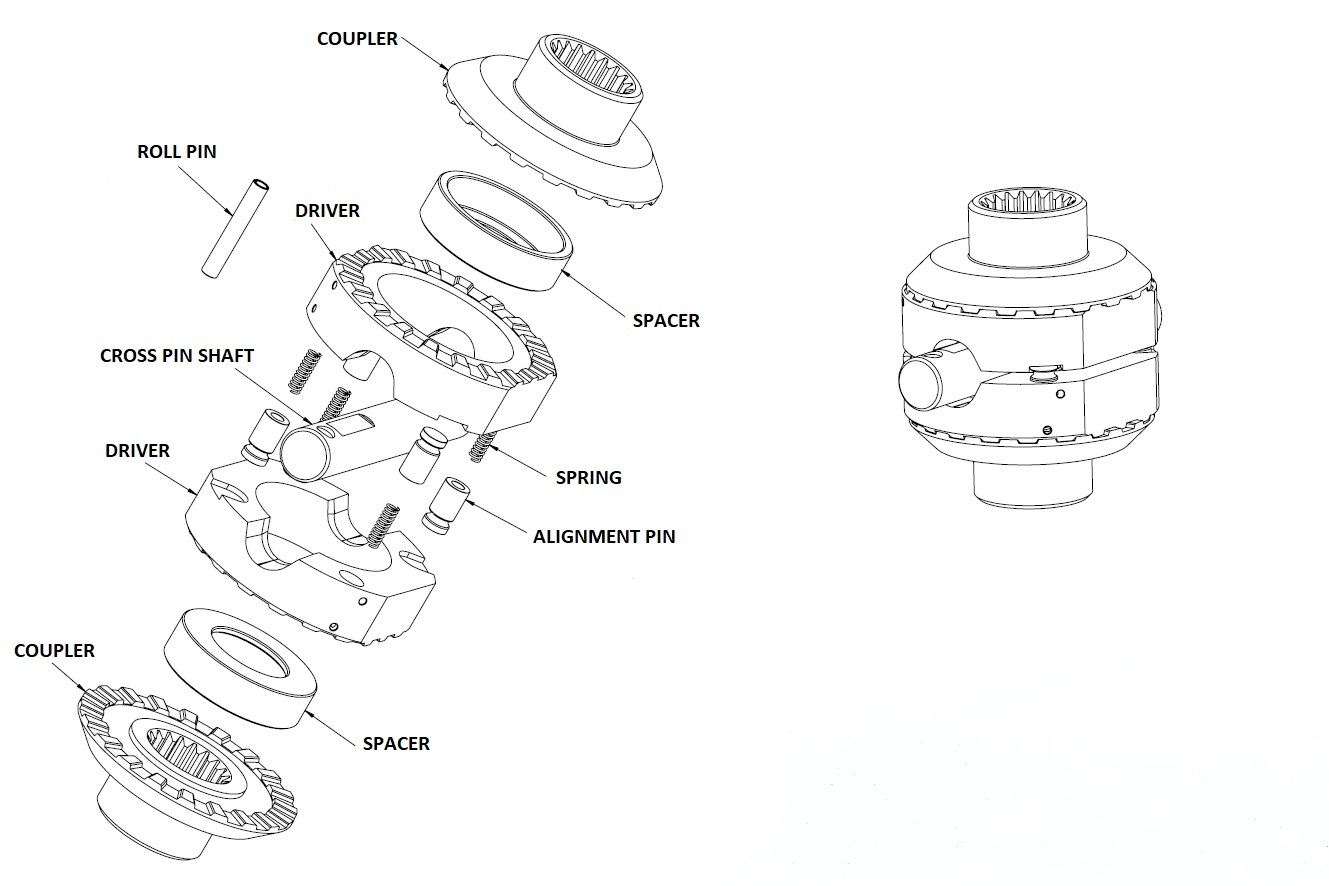
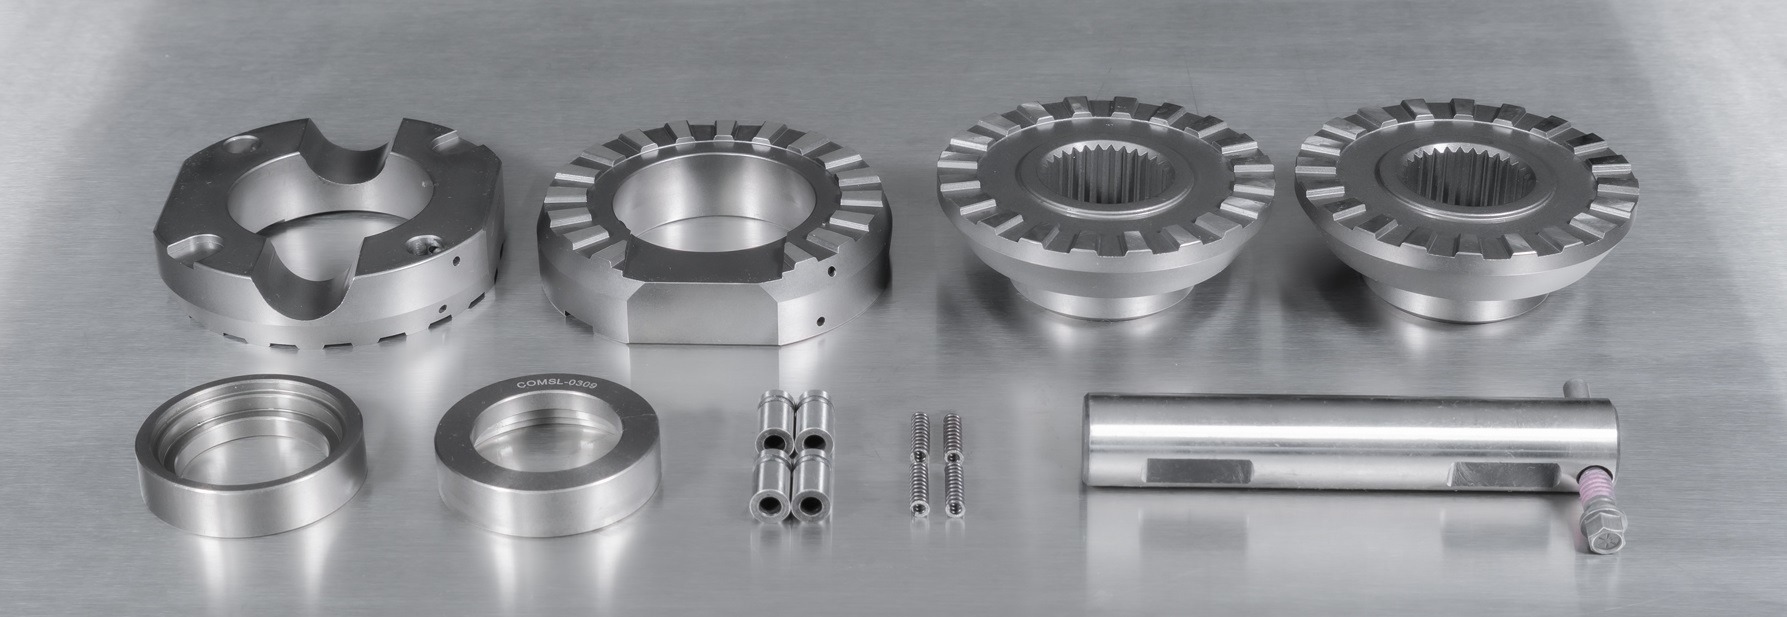
Generally speaking, Spartan Lockers include a pair of drivers, two spacers, two side couplers, four alignment pins, four pre-load springs, a hardened cross-pin shaft, a roll pin, and installation retaining wires.
Installation Tips & Tricks
The Breakdown
The installation process can take one of two paths: in the diff or on the workbench. It all begins with the breakdown.
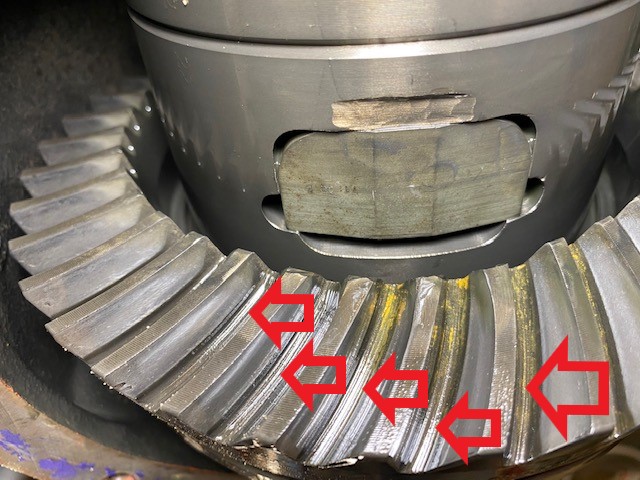
If your diff runs a numerically high gear ratio, like a 4.88 or 5.13, the thickness of the ring gear may make removal of the cross pin impossible with the carrier still in the diff. If this is the case… before proceeding to remove the carrier it is critical that you mark the bearing caps with a punch to denote which side of the diff each belongs on. Note, some diffs are pre-stamped, typically with a horizontal ‘H’ on one side and a vertical ‘H’ on the other. These correspond with markings on the bearing caps.
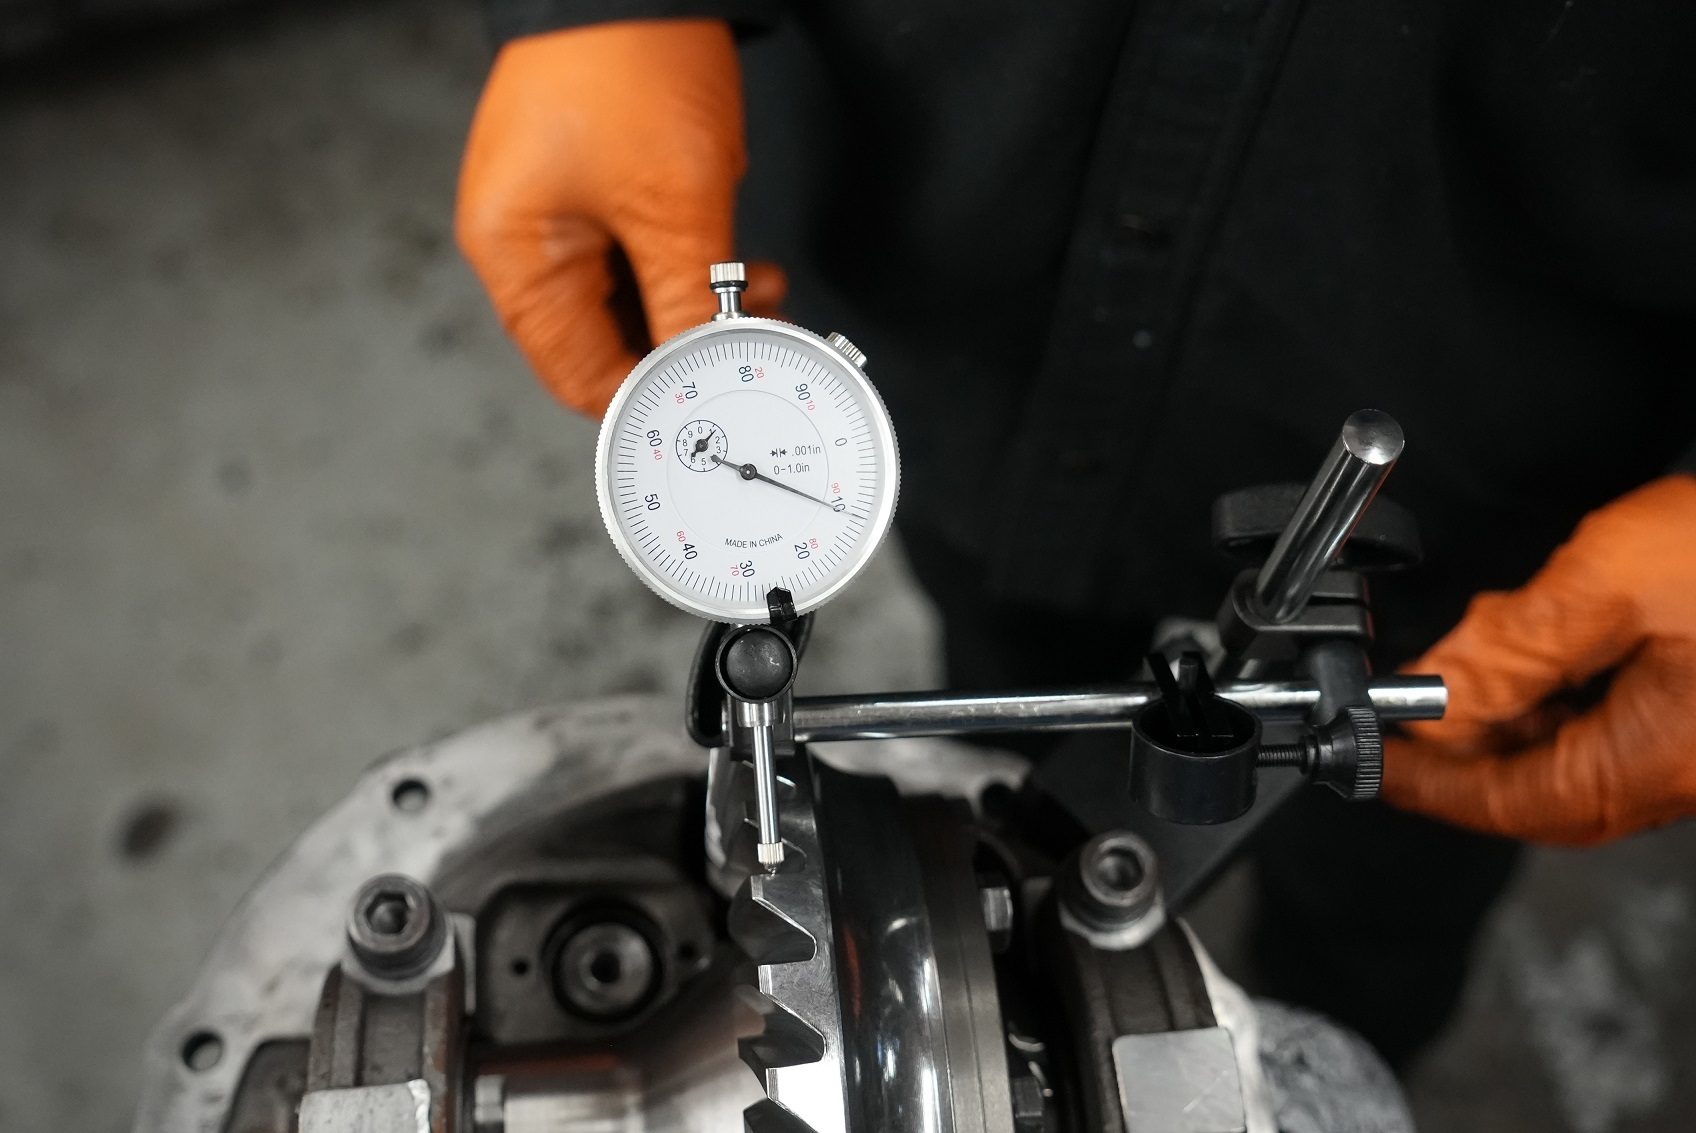
Check your backlash with a dial indicator, save the measurement to ensure proper re-installation. Like the bearing caps, keep track of which side the shims and carrier races come out of. With everything arranged, the carrier can be pulled out and the ring gear can be removed from the carrier.
At this point, the following steps apply whether you’re working with the diff still installed or on the bench. Remove the cross pin by punching out the roll pin and tapping the cross pin until it can be pulled out. Next, take out the sider gears and thrust washers. A tip here, rotate the gear set via the axle gears until the side gear presents itself for removal.
Assembling Humpty
To get the ball rolling place a spring into the hollow end of each of the alignment pins, and set them aside. Grab the drivers and install the four alignment pin and spring combinations into the respective driver holes.
.jpg)
Push each alignment pin/spring assembly fully down into the driver, compressing the spring and insert the retaining wire into the retaining wire hole in the driver to maintain preload and keep the pin from popping out. This also creates a flush surface which aids in installation.
.jpg)
Next, install side the couplers into the carrier case. Remember, DO NOT use thrust washers from previous setup. There is no top- or bottom-specific coupler. Each coupler should be positioned in the carrier with the teeth facing the center of the unit.
.jpg)
Install the spacers into the centers of each driver, making sure that the “open” face of the spacer is positioned toward the driver’s teeth. It will be handy to put a dab of grease between the spacer and driver to keep them together as the installation proceeds.
Take one of the center drivers, with the spacer placed in it, and install it into the carrier with its teeth surface facing the coupler’s teeth. Note, the retaining wire may need to be bent alongside the drivers to be properly installed in some carriers. Repeat this process for the remaining three alignment pin/spring assemblies as needed.
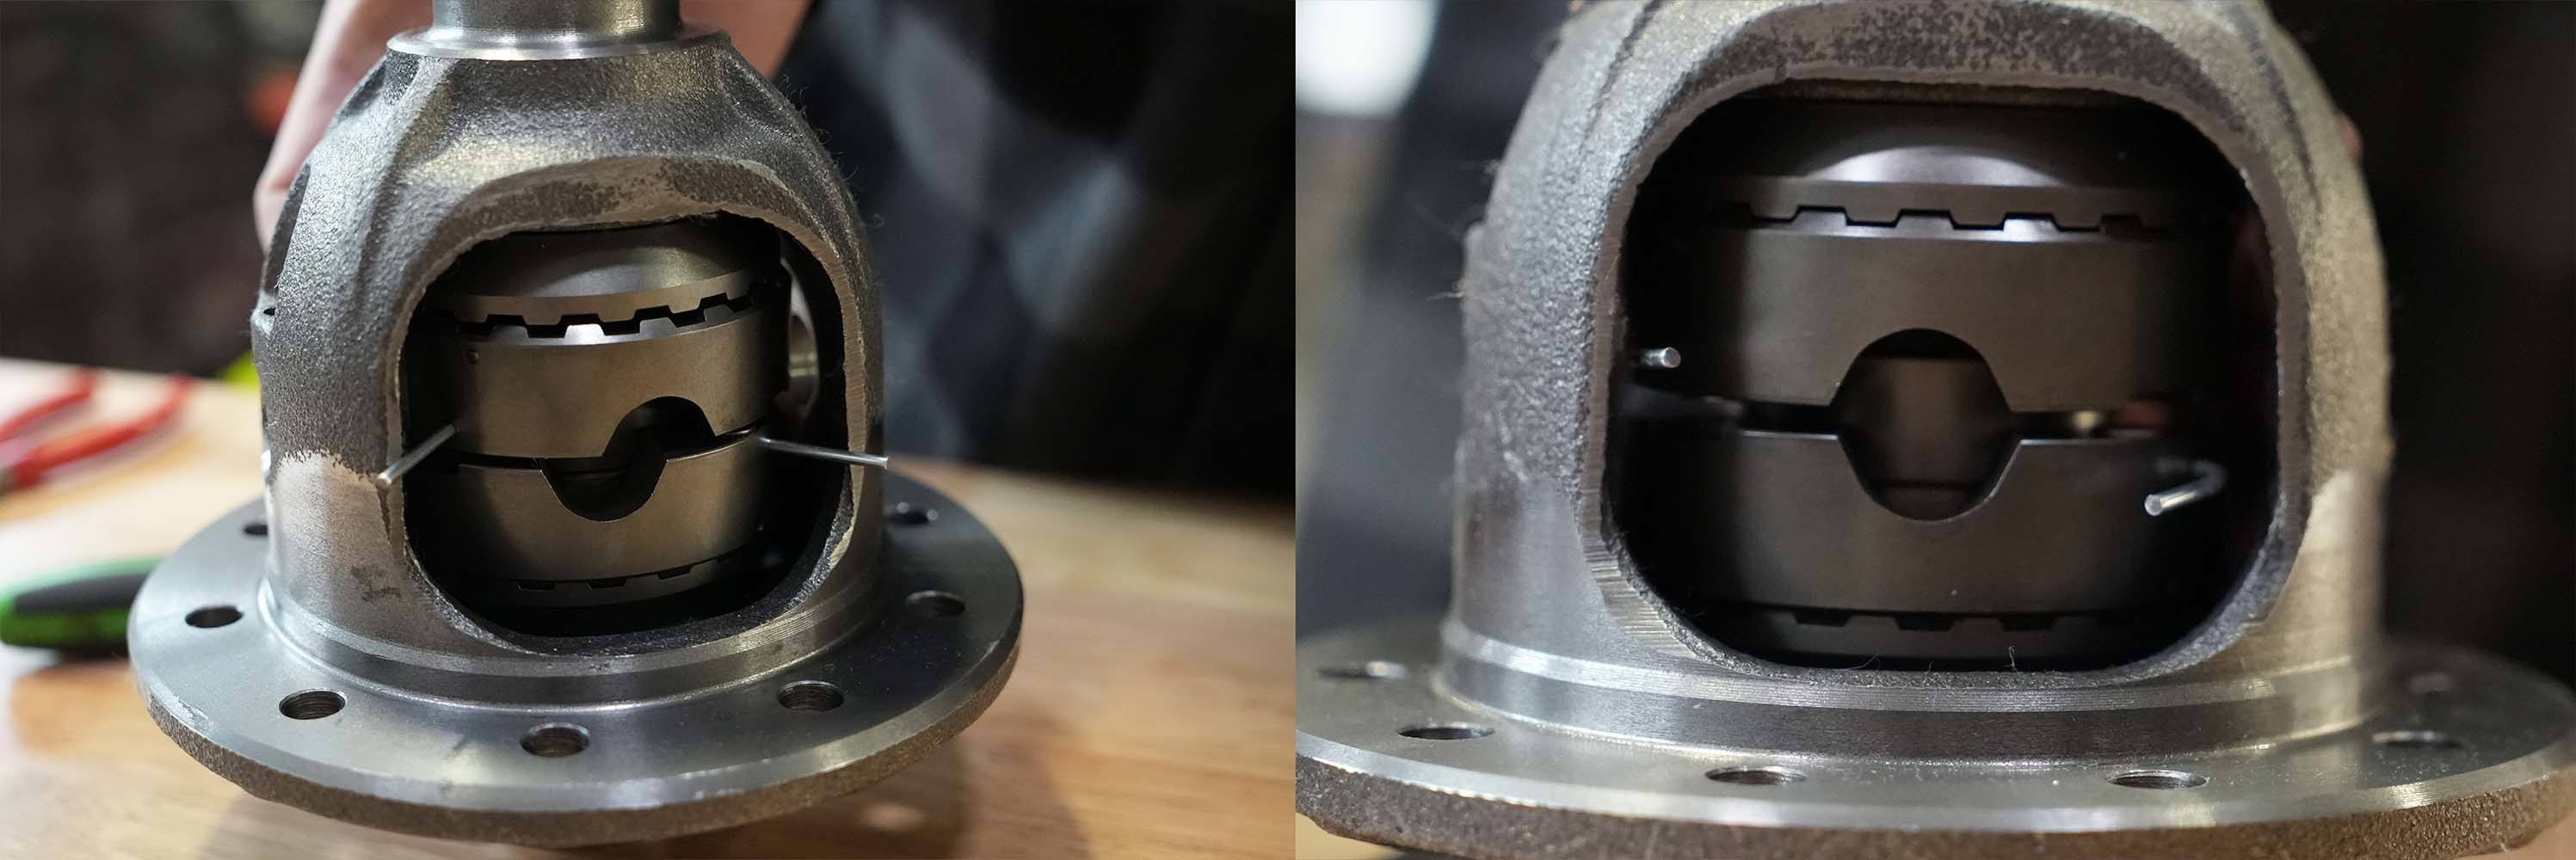
Orient the drivers until the alignment pin/spring assemblies line up with their corresponding alignment pin seating notches in the opposite driver. On c-clip axle applications install the clips in their groove. Pull the retaining wires out of the alignment pin/spring assemblies using a suitable tool, allowing the alignment pin to extend fully into the seating notch in the opposite driver. Manipulate the two halves until you hear the unit snap into place or you are confident all the pins are fully engaged.
Gap Insurance
.jpg) To ensure all the pieces are in working order a center gap measurement is needed.
To ensure all the pieces are in working order a center gap measurement is needed.
With the Spartan Locker components fully installed measure the distance between the two Spartan drivers using a set of feeler gauges or a slide caliper. The distance should measure between .145 and .170 inches. Measure at a few different spots around the circumference of the unit. If the measurement doesn’t fall within this range check for potential obstructions.
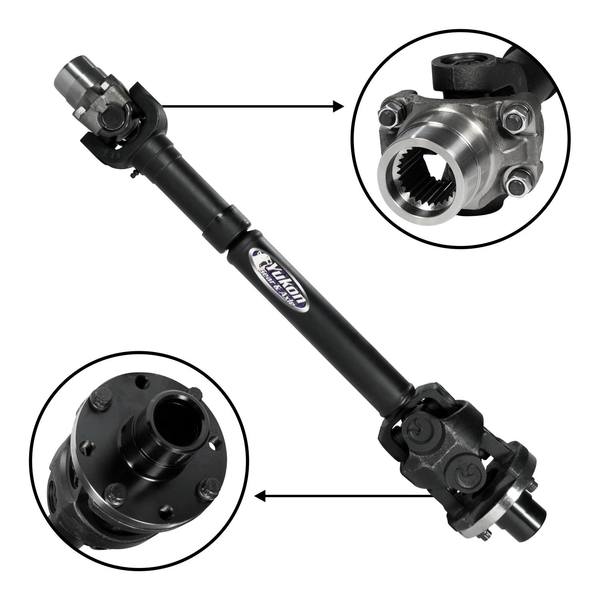
Back Into The Diff
With the assembled locker in the carrier, spin the unit until the cross pin shaft holes in the locker and the hole in the carrier line up so the cross pin can be installed properly. Be sure to keep the hole for the roll pin in alignment with the carrier roll pin hole. Install the cross pin and secure it by inserting the roll pin, which taps into place with a ball-peen hammer and a punch. Finally, re-assemble the driveline.
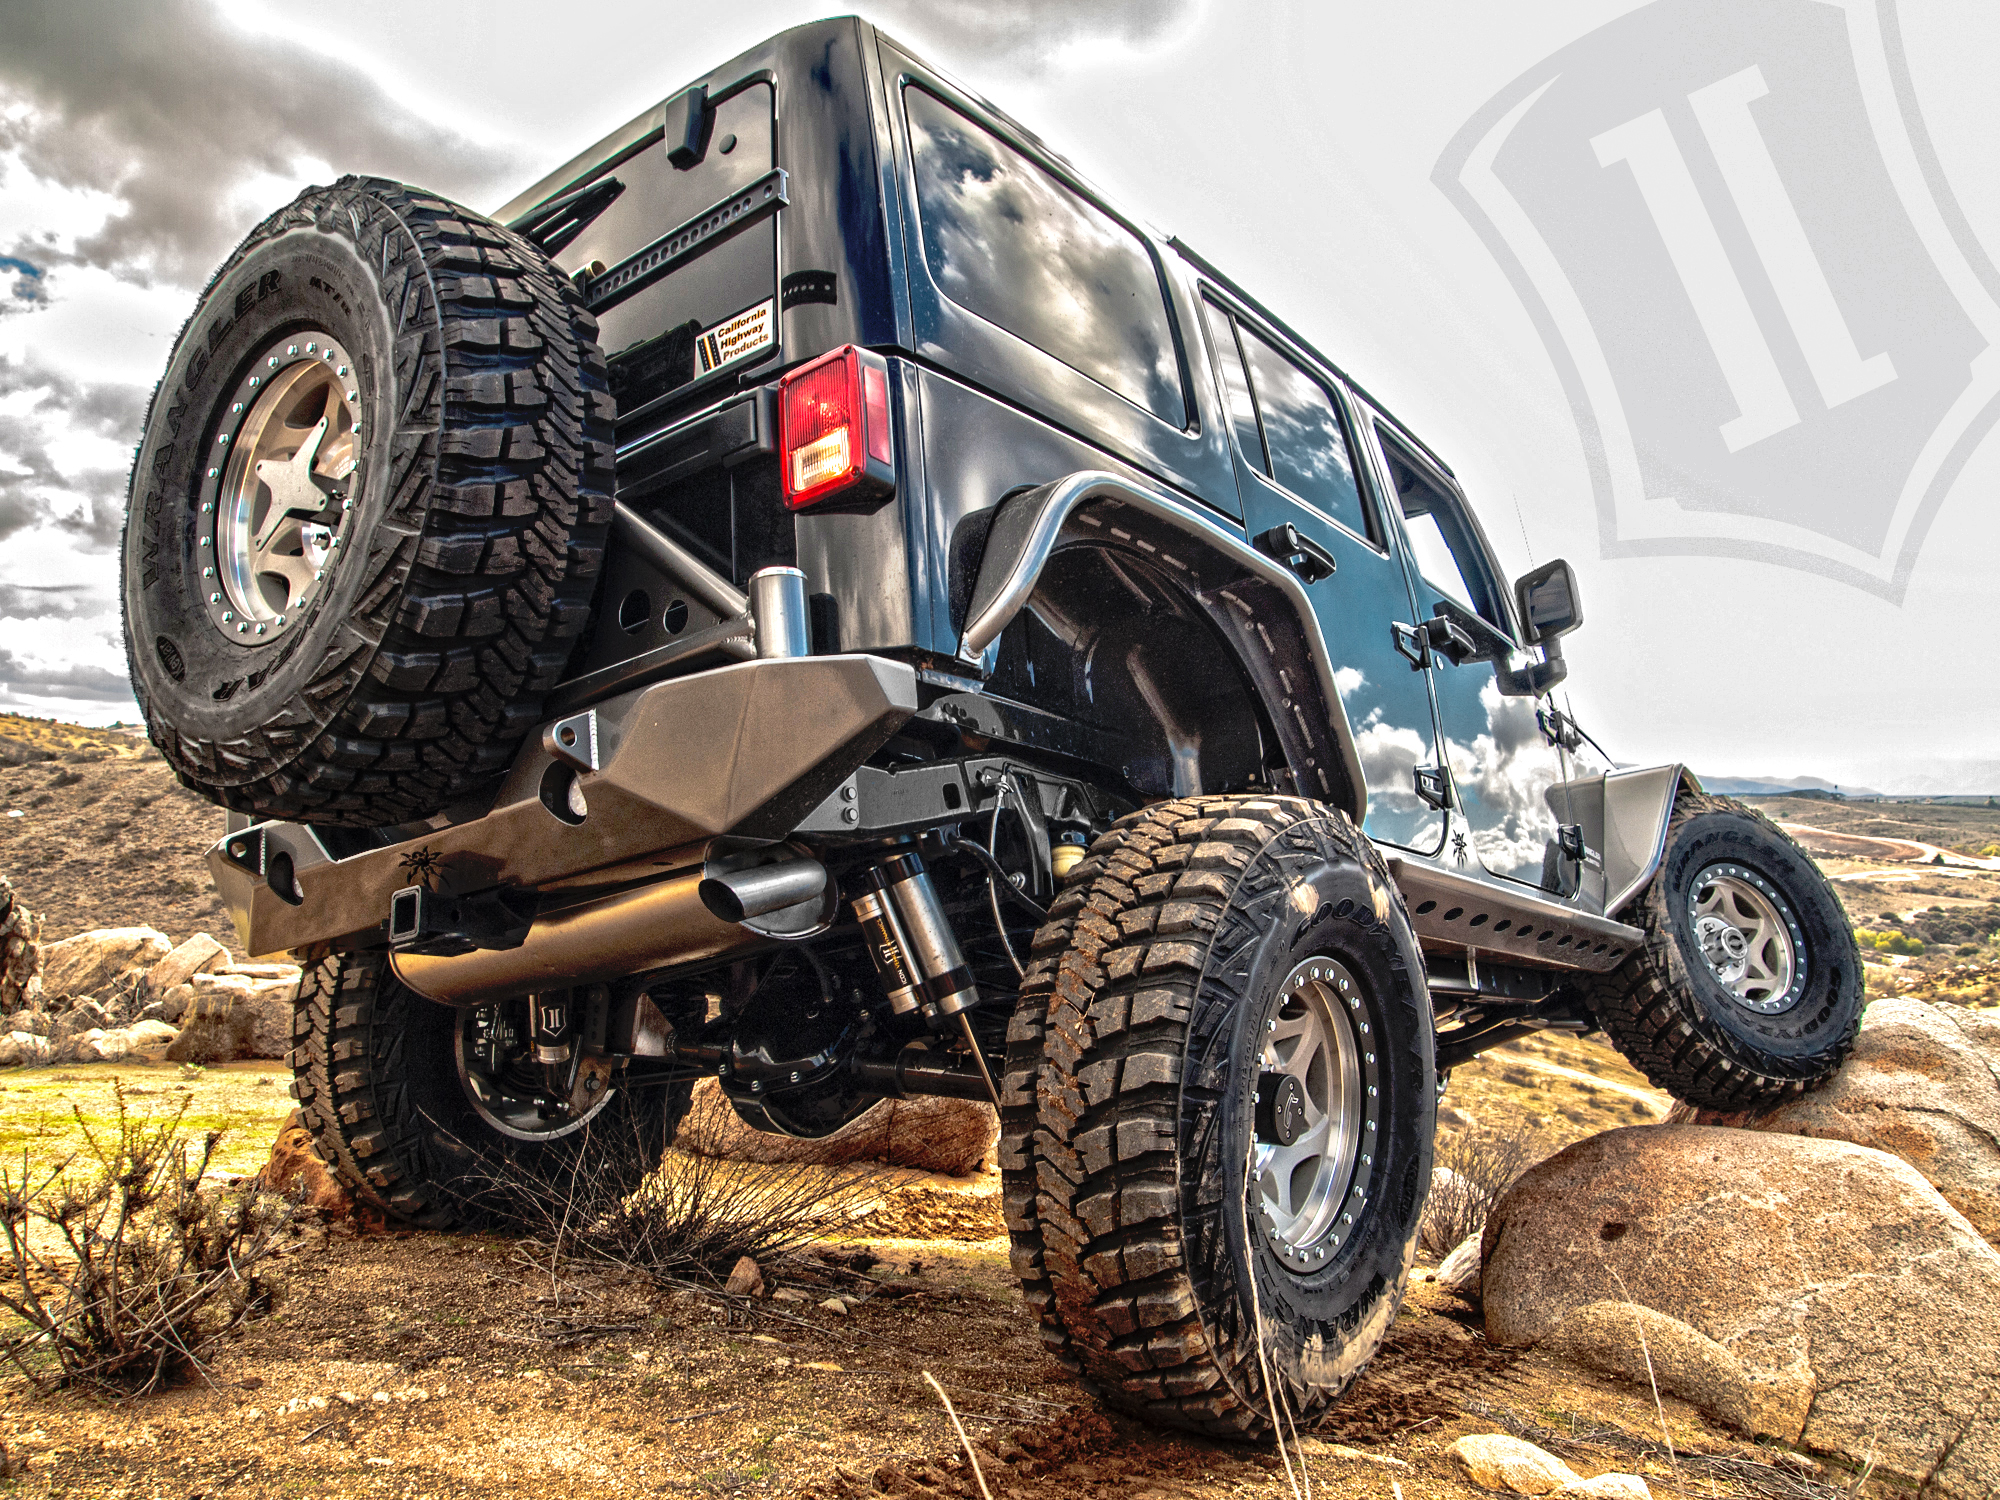
We are illustrating this installation in a typical application. Installs in Ford 8-inch and 9-inch rear ends, Toyota V6 applications, and Suzuki Samurai are very similar and the USA Standard Gear installation manual outlines the minor differences to ensure a smooth install. Whether you plan to tackle the job yourself or farm it out to a driveline shop it’s important that you understand what is involved so at the very least you and your mechanic speak the same language. Happy wheeling.
Popular Spartan Locker Applications
- Chrysler 8.25" with 29 spline axles, includes heavy-duty cross pin shaft SL-C8.25-29
- Chrysler 8.25" with 27 spline axles, includes heavy-duty cross pin shaft SL C8.25-27
- Nissan H233B Front with 31 Spline SL NPATROL-31
- Nissan M226 Rear with 32 Spline SL NTITAN-32
- Dana 30 Jeep JL M186 Differential SL D30JL-27
- Dana 44HD differential with 30 spline axles, includes heavy-duty cross pin shaft SL D44HD-30
- Dana 44 differential with 30 spline axles, includes heavy-duty cross pin shaft SL D44-30
- Dana 44 differential with 19 spline axles, includes heavy-duty cross pin shaft SL D44-19
- Dana 60 with 30 spline axles, includes heavy-duty cross pin shaft SL D60-30
- Dana 60 differential with 35 spline axles, includes heavy-duty cross pin shaft SL D60-35
- GM 12 bolt car & truck with 30 spline axles, includes heavy-duty cross pin shaft SL GM12-30
- GM 8.5" with 28 spline axles, includes heavy-duty cross pin shaft SL GM8.5-28
- GM 8.5" with 30 spline axles, includes heavy-duty cross pin shaft SL GM8.5-30
- Suzuki Samurai differential with 26 spline axles SL SUZSAM
- Model 20 differential with 29 spline axles, includes heavy-duty cross pin shaft SL M20-29
- Model 35 differential with 27 spline axles and a 1.560" carrier, includes heavy-duty cross pin SL M35-1.5-27
- Toyota 8" differential with 30 spline axles, includes heavy-duty cross pin shaft SL T8-30
- Toyota 7.5" with 27 spline axles, includes heavy-duty cross pin shaft SL T7.5-27
- Toyota V6 with 30 spline axles SL TV6-30
- Ford 8.8", 31 spline, includes heavy-duty cross pin shaft SL F8.8-31
- Ford 9", 28 or 31 spline SL F9-28-31