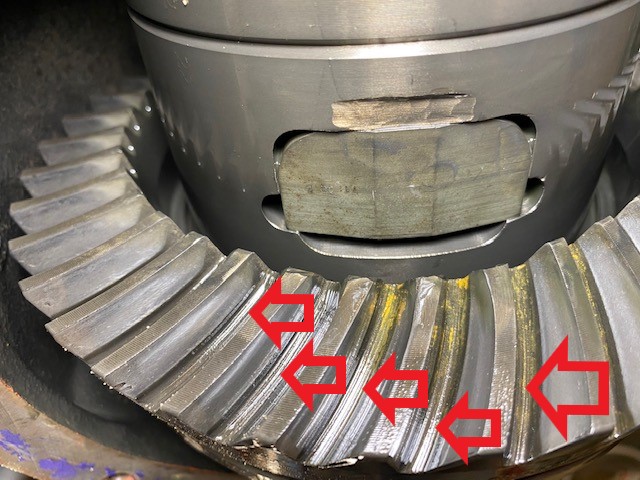
As with many automotive operations, the complexity of a task is not always representative of its importance. Take axle seal  installation… a pretty straightforward affair but get it wrong and your diff is doomed. The seal will leak and ultimately lead to gear failure. To avoid this scenario, we have compiled 10 installation tips that will ensure you do the job right.
There are many different types of axle seals. For our purposes we will be referring to the popular dynamic radial seal. These seals typically feature a mild carbon steel shell. In cases where corrosion is a concern the shell can be formed from stainless steel. In most cases, the seal will be outfitted with a garter spring to keep the seal lip tight against the rotating seal surface. Garter springs are made of spring steel wire and in some cases stainless steel and can be locked into place or merely wedged in place so special attention should be paid to ensure proper seating during installation. The inside of the seal is called the lip and it is typically made of some type of rubberized material. The lip can look different from one seal to another with some featuring a stepped design or more than one lip. The shell has a bore seal bumper on its oil side that is made from a softer material to provide a pliable seal.
1 - Right Tool For The Job
2 - Inspect & Detect - Shaft
Inspect the shaft where the seal will ride. Light imperfections in the finish can be polished with crocus cloth or emery cloth. If more substantial defects like deep scratches, pitting, or scoring are present you may have to remedy with a new shaft or install a Speedi Sleeve. If the shaft is blemish free, clean it well to remove any residual grit.
 3 - Inspect & Detect - Bore
4 - Seal The Deal
It is wise to use a sealant like an RVT, on the outside diameter of the seal shell to ensure no fluid will be able to seep around the seal once it’s installed. Note that many seals are made with a coating on their outside diameter to assist in this.
5 - Drive It Square
Be deliberate and ensure you drive the seal in place squarely. Don’t allow the seal to go in the bore crooked and possibly damage the seal and/or the seal bore. Keep the seal square and install it until it’s flush with the housing or against its stop. It would be wise to note the position of the original seal prior to its removal.

6 - Face Forward
Install the seal such that the garter spring is facing inward, toward the fluids you intend to seal in.
7 - Spring Stability
In some installations the garter spring can pop off during the process. To avoid this simply apply the backside of the seal with grease (or Vaseline in a pinch) to encourage the spring to stay in place.
8 - Lip Protection
When sliding seal over the shaft be sure to protect the lip or leading edge. This can be achieved with special sleeves over splines, using guide plates, or simply using smooth tape… or being very careful. An extension screwed onto the stud of an axle shaft, for example, can provide the control and support needed to complete the installation without having to rest on the shaft.
9 - Lip Lubrication
Use grease or gear oil, to lubricate the seal lip and/or the shaft to facilitate easy installation.
10 - Vent Clearance
Check that the axle vents are free and clear of any gritty buildup. Clogged vents can lead to excessive housing pressure that may speed the wear of the seal and encourage oil blowby around the seal.
These tips, compiled from Randy Lyman’s book, “Differentials Identification, Restoration & Repair”, provide both the technical information and the proper frame of mind to ensure a trouble-free seal install. Happy wrenching.
 AMC
AMC
 Chrysler
 Dana
Dana
 Ford
Ford
 GM
GM
 Isuzu
Isuzu
 Nissan
 Suzuki
 Toyota
